Calibrating the effective length
The effective length of the touch probe is always referenced to the tool datum.
1.Insert the calibration tool into the spindle.Load tool data (lenght and radius)using Tool Call.
2.Set the datum in the spindle axis such that for the machine tool table Z=0.
To select the calibration function for the touch probe length, press the TOUCH PROBE and CAL. L soft keys.

The TNC then displays a menu window with four input fields.
Enter the tool axis (with the axis key)
Datum: Enter the height of the ring gauge or gauge block..
The menu items Effective ball radius and Effective length do not require input.
Move the touch probe to a position just above the ring gauge.
To change the traverse direction (if necessary), press a soft key or an arrow key.

To probe the upper surface, press the NC Start button .
Radius calibration
In the Manual Operation mode, position the ball tip inside the bore of the ring gauge.
To select the calibration function for the ball-tip radius and the touch probe center misalignment, press the CAL. R soft key.

Select the tool axis and enter the radius of the ring gauge.

Probing: press the NC Start button four times. The touch probe contacts a position on the hole in each axis direction and calculates the effective ball-tip radius.
If you want to determine the ball-tip center misalignment, press the 180° soft key. The TNC rotates the touch probe by 180°

Probing: press the NC Start button four times. The touch probe contacts a position in the hole in each axis direction and calculates the ball-tip center misalignment.
The TNC rotates the touch probe by 180° for calibrating the center misalignment. The rotation is initiated by a miscellaneous function that is set by the machine tool builder in Machine Parameter 6160
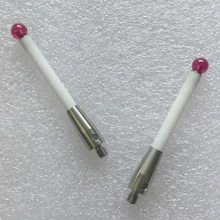
Touch Probe 6mm Dia Ceramic Stem M4 CMM A-5000-3709 Touch Probe Stylus- BUY NOW
